
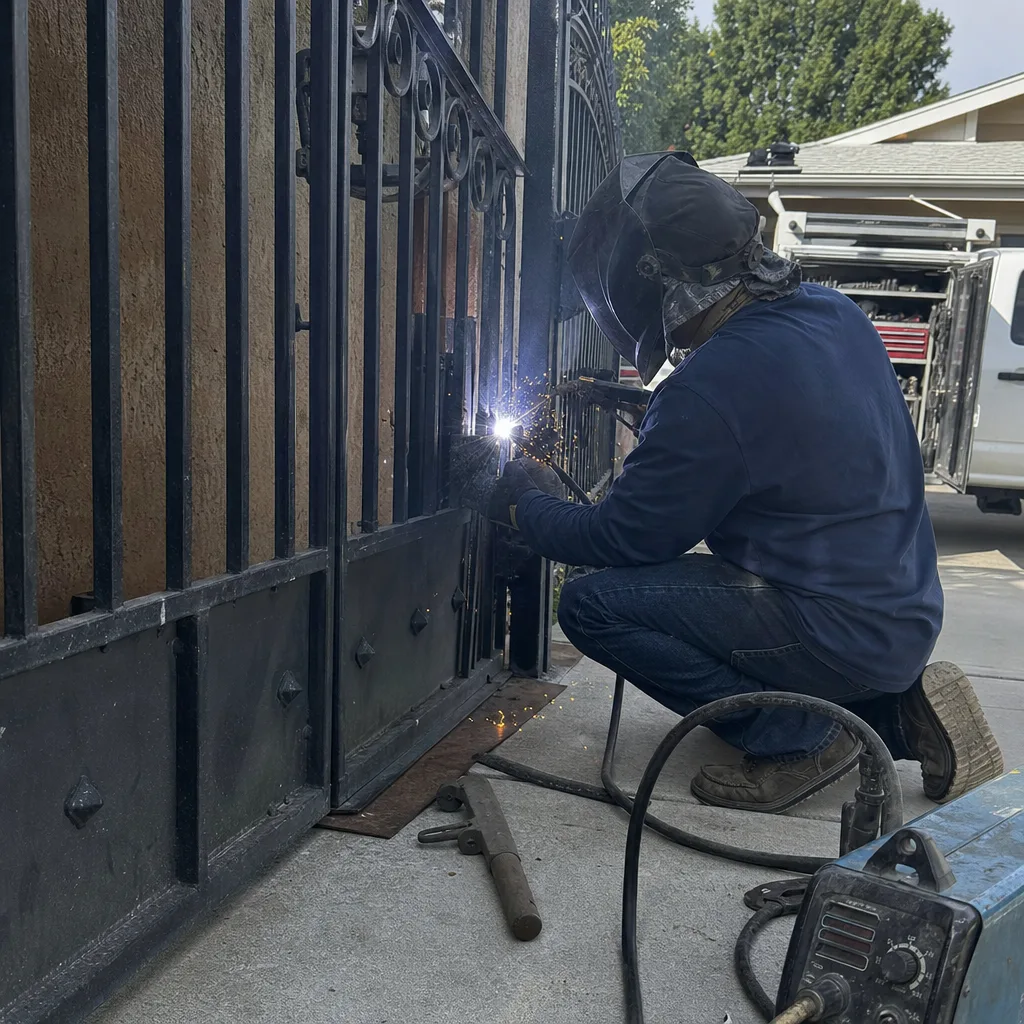
Last updated November 5, 2026
 Wrought iron
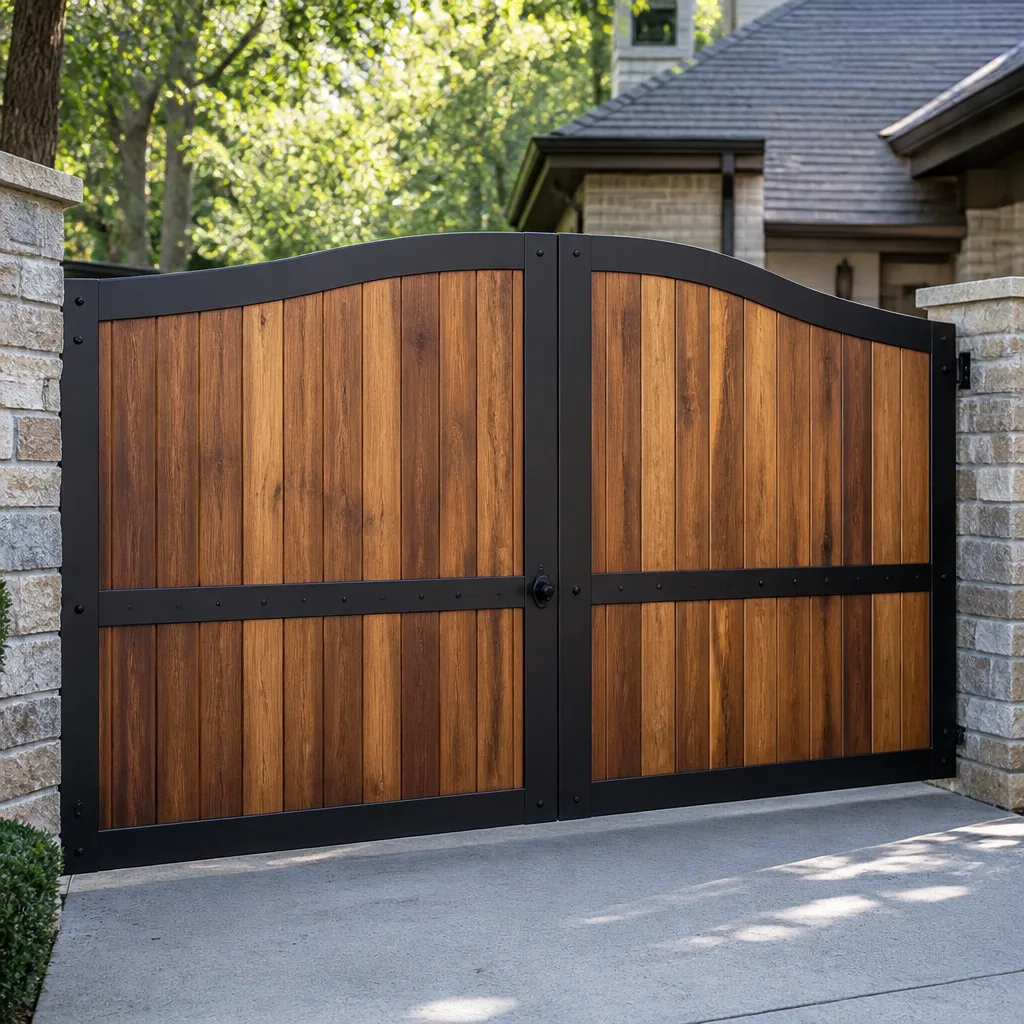 Wood & steel frame
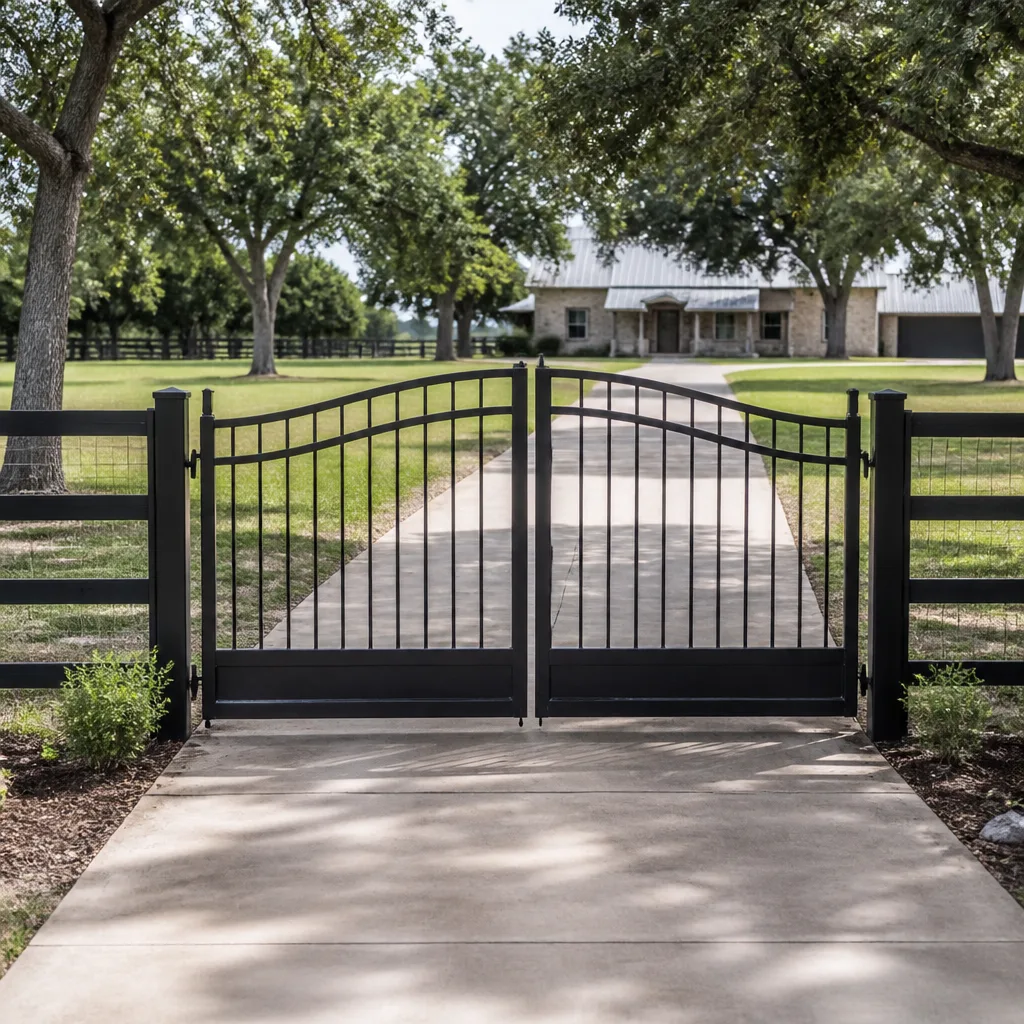 Farm & ranch
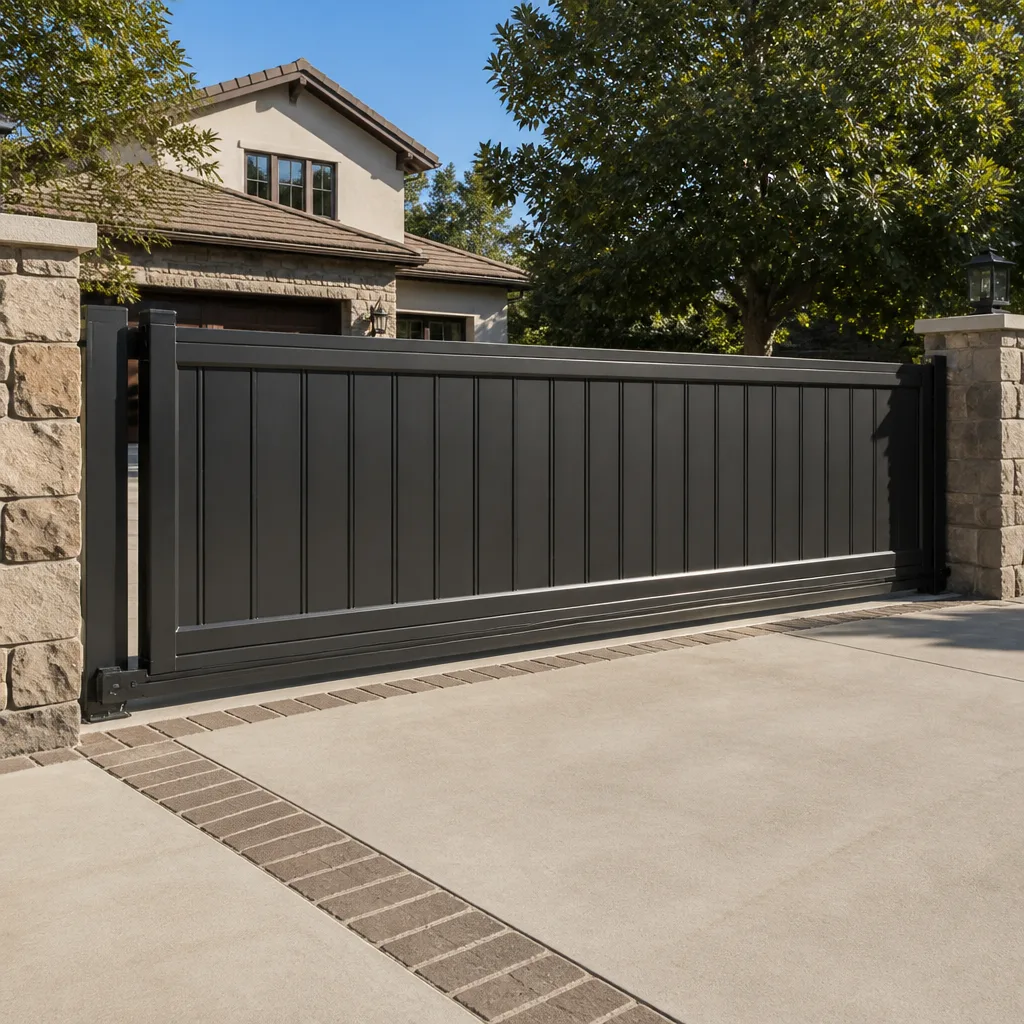 Sliding driveway gates
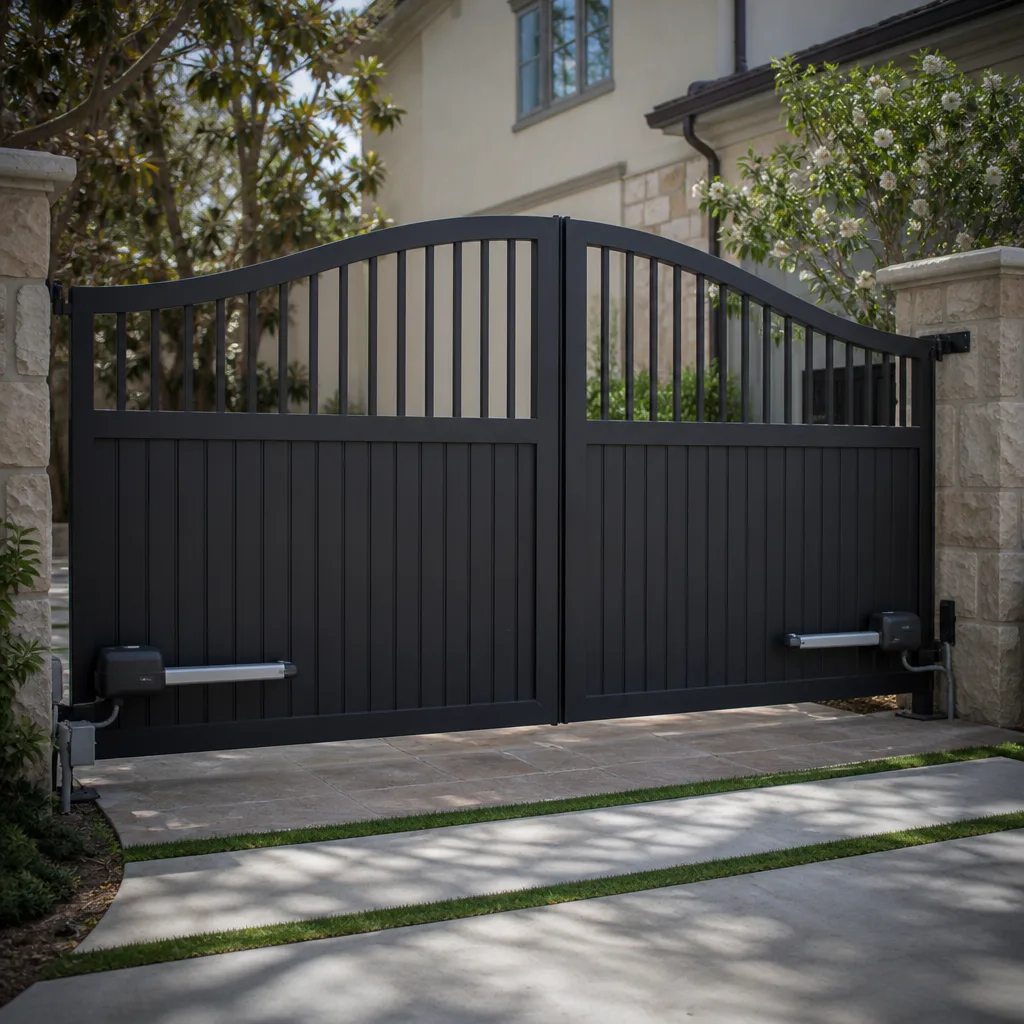 LiftMaster operators
Free on-site gate assessment - hinges, posts, and your LiftMaster or Nice gate operator checked before anything is quoted
The assessment is free and the quote is the invoice.
Get your free estimateGate Repair Maintenance Checklist for Arleta Homeowners
Most gate failures in Arleta don’t start with a dramatic crash or a snapped hinge. They start quietly, with a limit switch set a quarter-inch too far, a control board caked in fine dust, or a rack gear that’s been running dry for six months. By the time the motor burns out or the gate refuses to close, the damage has usually been building for weeks. This checklist is different from the generic “lubricate and visually inspect” advice you’ll find elsewhere. Every item here corresponds to a measurable threshold, and every threshold maps to a specific repair call we’ve seen open up on gates across the San Fernando Valley. If you live in Arleta, near the 118 and 405 corridor, your gate is fighting specific conditions: airborne particulate, temperature swings between cool mornings and hot afternoons, and daily open-close cycles that punish small misadjustments. This guide will show you exactly what to check, how often, and what reading on a multimeter actually means.
Quick Answer
A proper gate maintenance checklist for Arleta homeowners checks more than the hinges and the keypad. You need to verify limit switch travel distance, measure voltage and continuity on low-voltage wiring, clean or replace dust-clogged control boards, grease the rack or chain at the correct interval for your drive type, and torque the mounting hardware on the operator and the gate frame. Skip the limit switches and you’ll replace a motor years before its time. Do the checks on the schedule that follows and most failures become predictable instead of sudden.
Styles & brands we work with
- Wrought iron
- Wood & steel frame
- Farm & ranch
- Sliding driveway gates
- LiftMaster operators
Table of Contents
- Limit Switch Travel Distance: The Most Skipped Check on the Gate
- Electrical Checks You Can Do With a Multimeter (And What to Skip)
- Lubrication by Drive Type: Rack, Chain, and Belt Are Not the Same
- Arleta Dust and Particulate: Cleaning the Control Board and Photo Eyes
- Hardware and Track Alignment: What Actually Loosens Over Time
- How to Log Maintenance So a Technician Can See Trends
- A Seasonal Schedule for Arleta’s Climate
Limit Switch Travel Distance: The Most Skipped Check on the Gate
The single most skipped maintenance item on residential gates is limit switch travel distance. That one omission accounts for more burned-out motors than any weather event or physical impact. Here’s why it matters so much. The limit switch tells the operator exactly where to stop pushing the gate leaf in each direction. If it’s set too far, the motor keeps applying force after the gate has already reached the end of its track or the physical stop. That force turns into heat, heat breaks down winding insulation, and the motor dies early. If the limit is set too short, the gate never fully seats against the closed position, which can leave a gap wide enough for a dog to slip through or for the lock to miss its strike plate.
You don’t need to be a technician to do a basic limit travel check. Here’s the sequence we recommend:
- Open the gate manually using the release mechanism on the operator. This disengages the motor so you can move the leaf by hand.
- Push the gate to the full open position and watch where it naturally wants to stop. The physical stop or the end of the track should take the force, not the motor.
- Re-engage the operator and run the gate open. Listen for straining or a humming sound after the gate reaches the stop. A motor that keeps humming or buzzing after the leaf stops is still pushing. That’s a limit switch set too far.
- Repeat for the close cycle. The gate should seat fully, and the lock or magnetic lock should line up. Then the motor should go quiet.
- Check the gap. With the gate closed, the leaf edge should meet the stop or the opposing leaf without a visible slant or gap. An eighth of an inch of misalignment at the gate edge can mean the limit is off.
Limit switches drift. Vibration, temperature changes, and simple wear on the switch mechanism all move the trip point over time. On a swing gate in Arleta, the heat of a summer afternoon can change the geometry enough that a limit set on a cool morning reads differently at 3 p.m. We check limit travel on every single electric gate repair visit, because a surprising share of “dead motor” calls are actually a limit switch that was left slightly too aggressive for a year or two.
Electrical Checks You Can Do With a Multimeter (And What to Skip)
Most electrical problems on a gate are not in the motor. They’re in the low-voltage wiring that runs to the keypad, the photo eyes, the loop detector, or the safety edges. That’s good news, because low-voltage diagnostics are something a careful homeowner can do without opening a high-voltage panel. What you should never do is open the main power compartment on a 120V or 240V operator unless you’re trained and the breaker is off and locked out. The transformer, the capacitor, and the line side of the control board carry enough current to hurt you badly.
Here’s what you can safely check with a basic digital multimeter set to DC volts or continuity:
- Photo eye alignment voltage. Most photo eyes run on 12V or 24V DC from the control board. With the gate closed, place your meter leads on the photo eye terminals. You should see a steady reading close to the rated voltage, typically 10.5-12V on a 12V system or 22-26V on a 24V system. A reading that swings wildly or drops when you wiggle the wire points to a bad connection.
- Keypad or intercom wire continuity. Set the multimeter to the continuity or ohms setting, disconnect both ends of the wire, and test. A good pair of wires will read near zero ohms. Anything above a few ohms, or a reading that jumps when you move the wire, says the conductor is damaged. In Arleta, we see chafing where wire passes through metal posts or along the hinge side of a swing gate.
- Battery backup voltage. Many operators, especially LiftMaster and FAAC residential units, have a sealed battery for backup operation. With the unit unplugged or the battery disconnected from the charger, a healthy 12V battery reads 12.6V or higher. A reading of 12.0V or below means the battery is degraded and should be replaced before the next power outage tests it.
- Safety edge resistance. A resistive safety edge should read its rated resistance, typically 8.2 kOhm or 10 kOhm, depending on the brand. An open circuit means the edge is broken. A dead short can cause the control board to refuse to close the gate.
What you should leave to a licensed tech: anything involving the capacitor (which can hold a charge even with the power off), the control board’s soldered components, or the high-voltage input side. We work across LiftMaster, FAAC, Mighty Mule, and Elite systems, and the diagnostic approach is the same on all of them: prove the low-voltage circuit first, then isolate the board, then test the motor legs. That order prevents expensive parts from being replaced on a guess.
Lubrication by Drive Type: Rack, Chain, and Belt Are Not the Same
Lubrication is where generic advice falls apart. A rack-and-pinion slide gate, a chain-drive slide gate, and a belt-drive swing gate all need lubrication, but not the same product, not the same amount, and not the same interval. Greasing everything on the same schedule is how you end up with a rack gear caked in oily grit that turns into grinding paste.
Rack-and-pinion slide gates: Light grease every 2 to 3 months. The rack gear is exposed to the outside air, which in Arleta means it’s collecting a fine layer of road dust from the 118 and 405 corridor traffic and the dry valley air. Use a thin coat, not a heavy smear. Too much grease holds grit. The point is a film, not a coating. Wipe the rack with a clean rag before applying fresh grease so you’re not working dust into the teeth.
Chain-drive slide gates: Chain lube every 3 to 4 months. The chain on a slide gate is long, exposed, and under constant tension. Check the tension while you’re there: you should be able to press down about a half-inch at the midpoint of the longest run. A chain that’s too tight wears sprockets. Too loose and it can jump a tooth, which throws the limit switch travel distance off and puts the gate leaf out of position.
Belt-drive swing and slide gates: Most belt drives need no lubrication at all. The belt is either a synthetic rubber compound or a fiber-reinforced poly material that runs dry. Lubricating a belt attracts dust and causes slippage. Instead of greasing, check belt tension and look for edge fraying or cracking from heat and UV. A cracked belt on a Mighty Mule or Ghost Controls residential swing operator is a replace-on-sight item.
Hinges, wheels, and bearing points: These get a light machine oil or a PTFE-based spray every 3 months. Hinges on a heavy steel swing gate take a real load, and a dry hinge makes the operator work harder on every cycle, which shortens the motor. Keep oil off the photo eye lenses and the keypad face.
Arleta Dust and Particulate: Cleaning the Control Board and Photo Eyes
Arleta sits in the northeastern San Fernando Valley, close enough to the 118 and 405 that airborne particulate is a year-round condition. It’s not a coastal environment with salt air, and it’s not a mountain climate with ice; it’s a dry inland valley with fine dust, pollen in the spring, and enough vehicle traffic to keep a constant haze of brake dust and tire particles in the air. That dust settles inside the operator housing, on the control board, and on the photo eye lenses.
A control board coated in conductive dust doesn’t fail all at once. It starts with intermittent behavior: the gate opens but won’t close, the keypad works sometimes, the auto-close timer resets itself. The dust bridges low-voltage circuits just enough to confuse the board’s logic. The fix is cleaning, not parts replacement.
Once every 4 to 6 months, do this:
- Turn off power to the operator at the breaker or disconnect switch.
- Remove the operator cover carefully. Some covers have an interlock switch that kills power when opened, but don’t rely on it. Verify with a non-contact voltage tester before touching anything inside.
- Blow out the housing with compressed air at low pressure. Start at the top and work down so dust falls out instead of deeper in.
- Clean the control board with a soft brush and, if needed, a can of electronics-grade contact cleaner. Do not use water, household cleaners, or anything that leaves a residue.
- Wipe the photo eye lenses with a dry microfiber cloth. Check alignment by closing the gate and watching for the operator to reverse or refuse to close. The photo eyes should be level and facing each other squarely, not just roughly pointed in the same direction.
Homes closer to the freeway interchange will need this cleaning more often than homes on quieter residential streets in Arleta. If your gate sees more than 20 open-close cycles a day, treat the operator housing as an air filter that needs its own filter change.
Hardware and Track Alignment: What Actually Loosens Over Time
The gate leaf moves thousands of times between inspections. Every cycle transmits vibration down through the leaf, into the hinges, into the track wheels, and into the mounting bolts. Steel on steel with vibration will loosen, no matter how tight the bolts were at installation. The question is which bolts loosen first, and the answer is usually the ones carrying the most cyclical load.
Check these every 6 months with a torque wrench or a good set of hand tools:
- Hinge bolts on swing gates. A swing gate hangs its entire weight on two or three hinge points. Bolts that back out throw the leaf out of square, which changes the limit travel geometry and makes the gate sag. The symptom is a gate that scrapes the ground on the latch side or bounces against the stop post.
- Track bracket bolts on slide gates. Slide gate tracks get hammered every time the gate rolls. Loose brackets let the track shift, which makes the gate bind at the same spot every cycle. You’ll hear a rhythmic rumble or feel a vibration through the gate leaf at the bind point.
- Operator mounting bolts. The operator is bolted to a pad or a post. If it shifts even a quarter-inch, the drive gear or chain sprocket loses its alignment with the rack or chain, causing premature wear on both.
- Wheel bearings and casters on slide gates. Run the gate and listen. A dry or failing bearing clicks, rumbles, or squeals. Replace bearings before they seize, because a seized wheel dragging across the track does real damage to the track itself.
- Gate stop and catch hardware. The physical stops take the abuse that the limit switch is supposed to prevent. A bent or cracked stop should be replaced before it fails and lets the gate over-travel.
Use a paint marker or torque seal on critical bolts after you tighten them. A small dab across the bolt head and the adjacent surface shows at a glance whether the bolt has moved since your last check. That’s a trick we use on commercial gates that cycle hundreds of times a day, and it works just as well on a residential slide gate near the 118.
How to Log Maintenance So a Technician Can See Trends
The most useful thing a homeowner can keep is not a tool. It’s a written log. A dated list of observations over time turns a confusing intermittent failure into a clear trend. When you call us for gate repair, a short log gives us data that would otherwise take multiple visits to collect.
You don’t need a spreadsheet. A notebook page or a notes app works. Log these four things every time you do any check:
- Date and ambient temperature. Heat changes geometry. A binding that only happens on hot afternoons and never in the morning points to thermal expansion. A fresh cool-morning reading is not the same as a July afternoon reading in Arleta.
- Limit switch position, if you touched it. Note the direction and approximate amount of any adjustment. If the gate starts misbehaving later, we know what changed and can dial it back.
- Voltage readings you took. Write down the exact numbers, not “looked fine.” A photo eye that reads 11.8V one month and 10.9V the next is trending toward failure even if it still works. The trend is the diagnostic.
- Any new noise, hesitation, or behavior change. One sentence is enough: “Gate hesitated 2 seconds before closing from full open, only when cold.” Over six months, those sentences become a pattern.
Bring the log to your service visit or have it ready when you describe the problem. A technician who can see six months of voltage readings doesn’t have to start from zero. That’s the difference between a diagnostic that takes an hour and one that takes a day, and it’s the difference between replacing a $40 part at the first sign of trouble and replacing a $400 board when it fails completely.
A Seasonal Schedule for Arleta’s Climate
Arleta’s climate is mild in the winter and hot and dry in the summer. There’s no freeze-thaw cycle to crack components and no snow load to sag a gate frame. The main seasonal pressures are heat, dust, and UV exposure, and the maintenance schedule should follow those three pressures.
Early spring (March-April, after the rainy season): Rain in the San Fernando Valley is concentrated in January and February. After the last rain, check for rust spots on the gate frame and the operator housing, especially at welds and bolt holes. Clean drain holes in the operator housing so standing water can’t sit inside. Check the chain or rack for surface rust after the damp season and re-lubricate lightly.
Early summer (May-June, before peak heat): This is the big one. Check limit switch travel, test the battery backup, clean the control board and photo eyes, and torque the mounting hardware. The goal is to catch any heat-sensitive issue before July and August, when a gate failure is both more common and more unpleasant. A capacitor that’s marginal will often fail on the hottest afternoon of the year, not in March.
Late summer (August-September): Dust accumulation peaks after the dry months. Do a second control board and photo eye cleaning if you’re near the 118 or the 405. Re-check voltage on any component that read borderline in the spring. Heat-sensitive wiring connections may show more resistance in August than they did in May.
Late fall (October-November): Check the gate frame for any stress cracks at the welds, especially on swing gates where the leaf mounts to the hinge posts. Wind picks up in the fall, and a gate leaf is a big sail. Check the stops and catches again before the winter rain arrives.
Common Mistakes to Avoid
- Skipping the limit switches because the gate still opens and closes. A gate that works is the one most likely to have a limit set too far. The motor strain you can’t hear is still happening on every cycle.
- Using WD-40 on a rack gear or chain. It’s a water displacer, not a lasting lubricant. It washes away the grease that was there and leaves the metal bare. Use a proper lithium grease or chain lube.
- Cleaning the control board with a wet rag. Water and household cleaners leave residue and cause corrosion on the board traces. Use only compressed air and electronics-grade contact cleaner, with the power off.
- Ignoring a battery backup that reads 12.0V. The battery tests fine under no load, but it’s effectively dead when the power fails. A backup battery that doesn’t back anything up turns a power outage into a locked gate with no manual override plan.
- Adjusting the chain tension without knowing the spec. Too tight wears the sprockets and strains the motor. Too loose skips teeth and throws the gate out of limit. A half-inch of deflection at the midpoint is a good starting point for most residential slide gates.
- Fixing the symptom instead of the cause. If the gate scrapes the ground, the fix is the hinge or the track, not grinding down the latch. A gate leaf that drags is bending something, every single cycle.
- Assuming a dusty photo eye means the photo eye is bad. Most photo eye failures are dirty lenses or misalignment. Clean and re-aim before spending money on a new sensor.
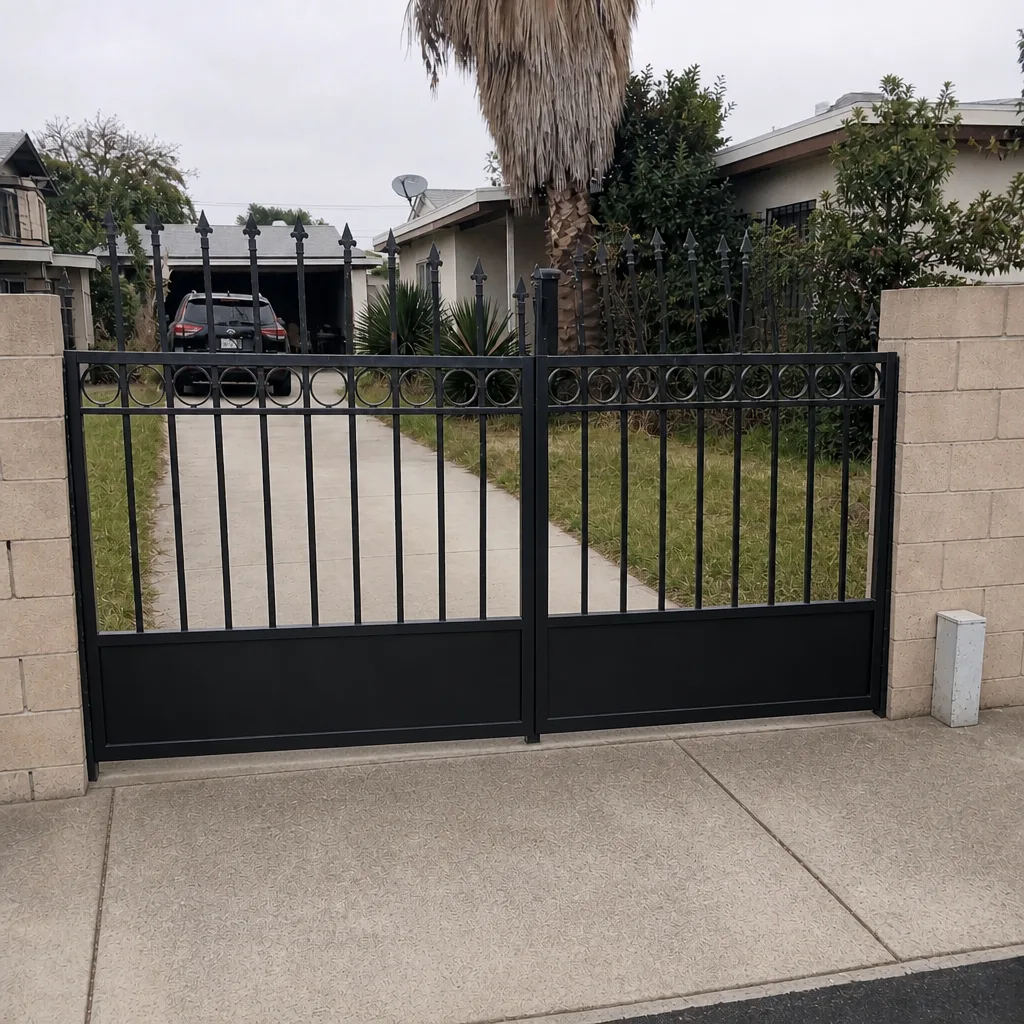
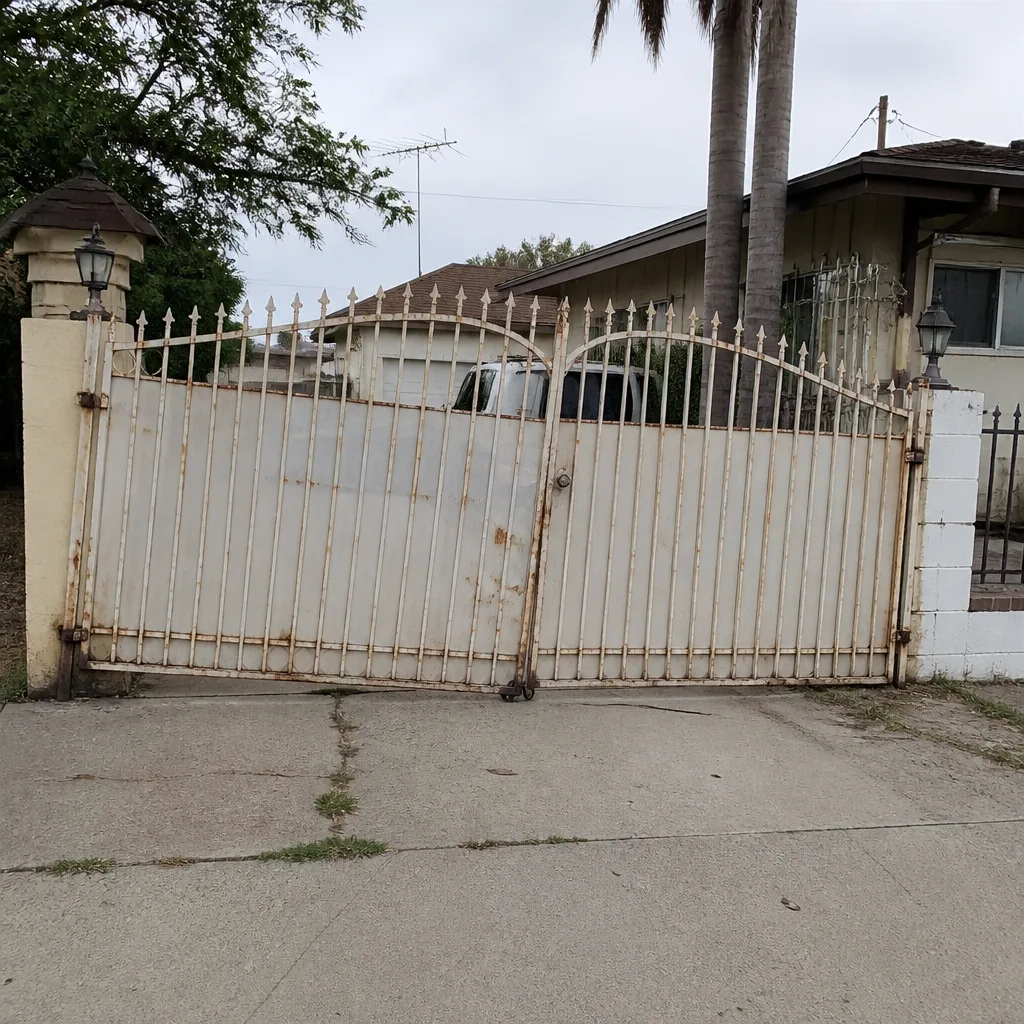
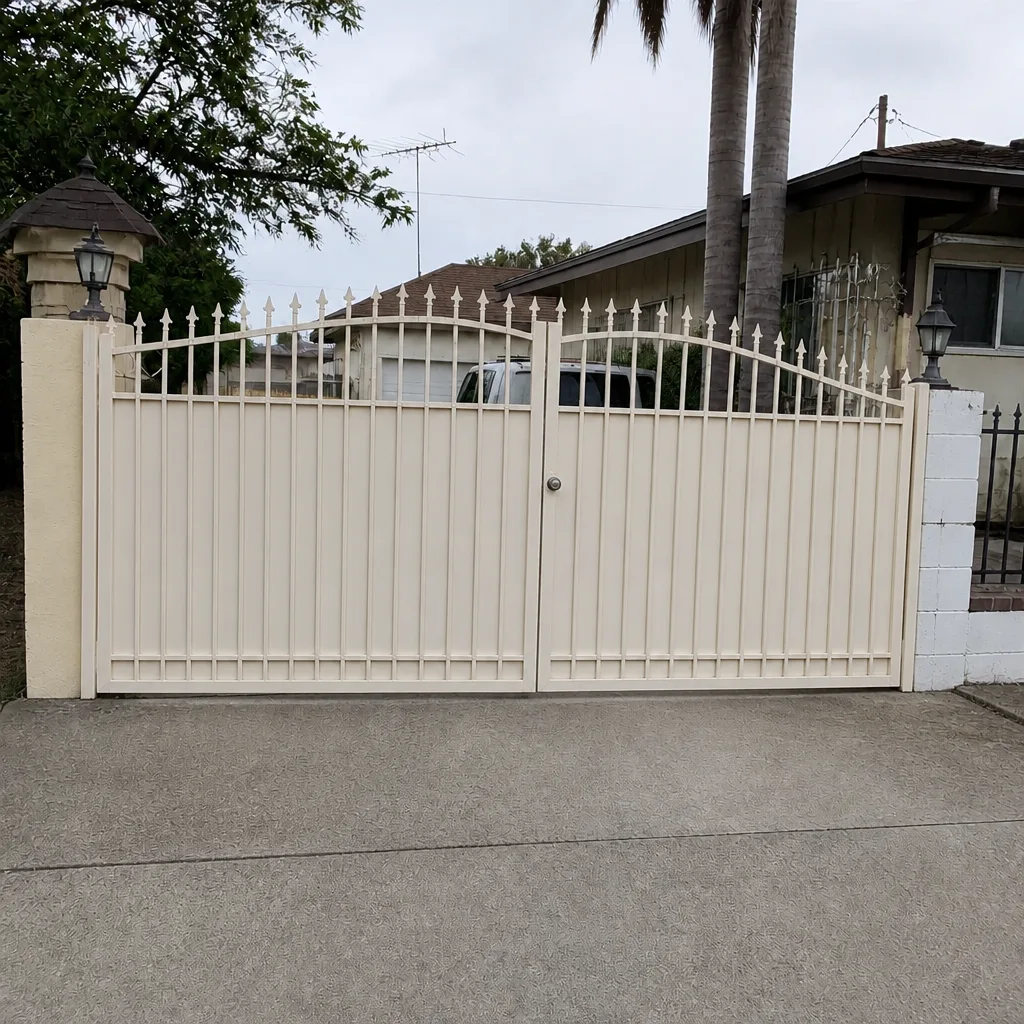
See the difference
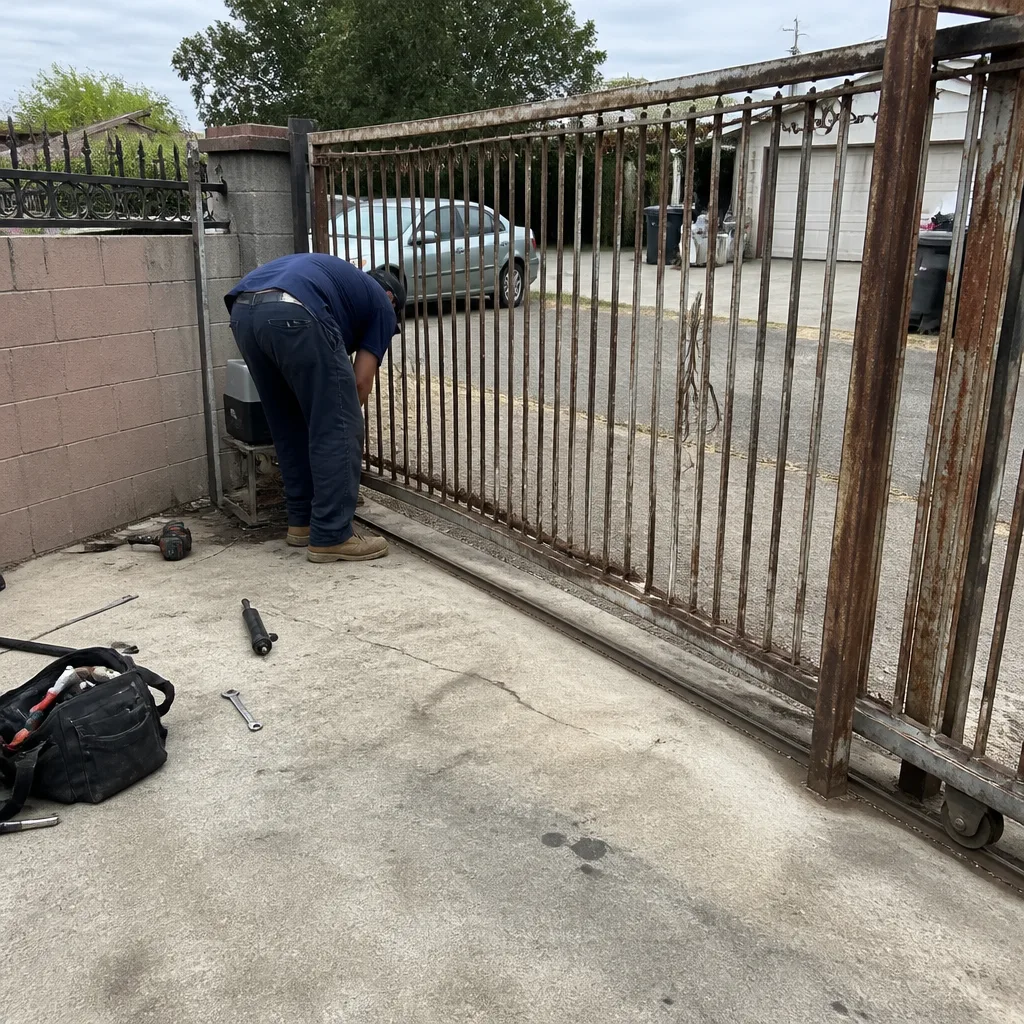 Before
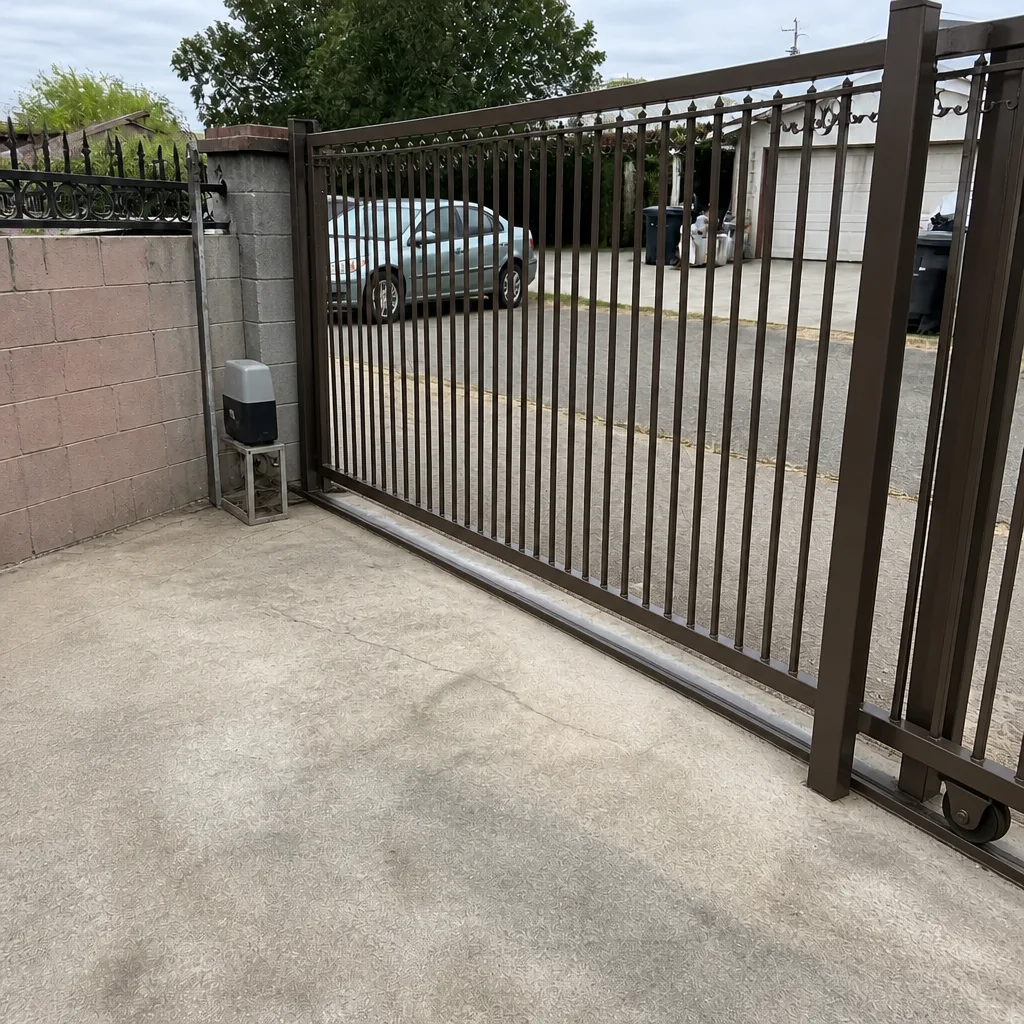 After
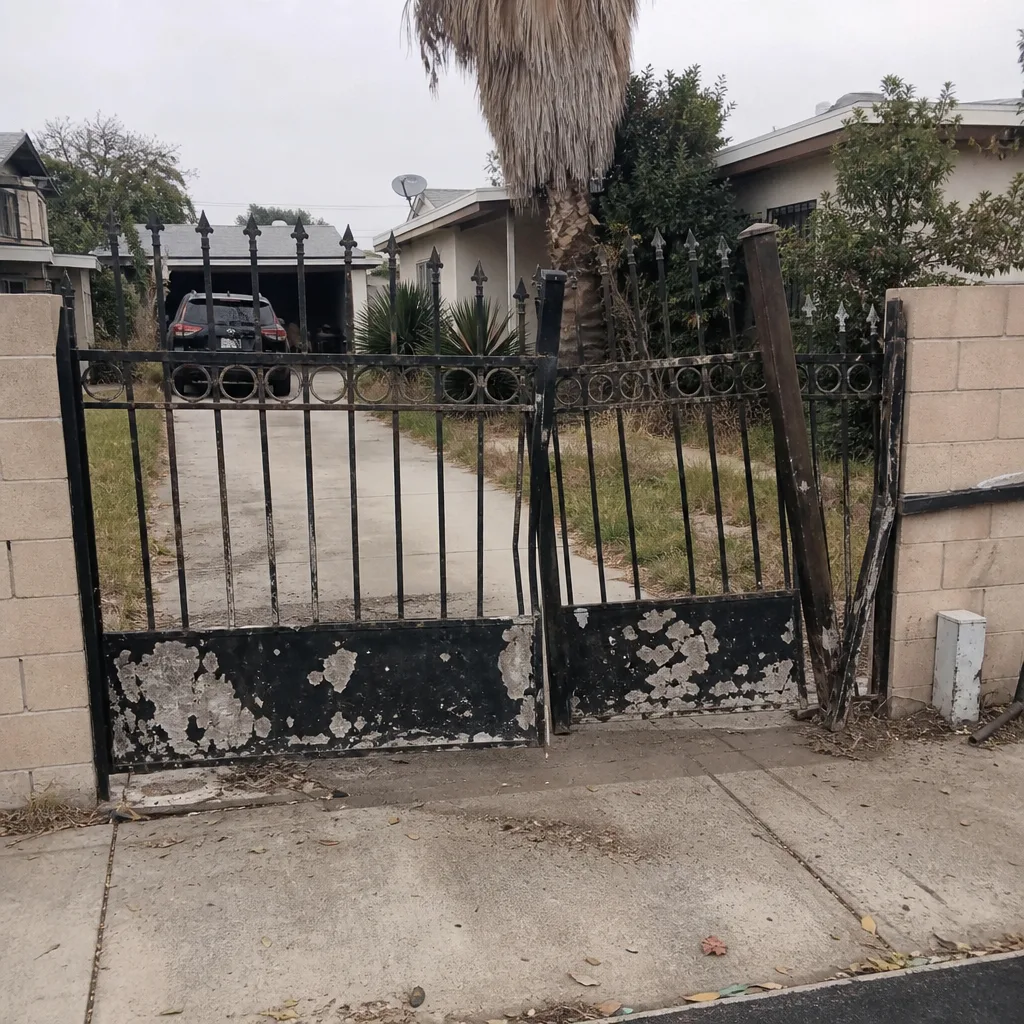 Before
 After
 Before
 After
When to Call a Professional
Some things are worth doing yourself, and some things are worth not getting wrong. Call a gate specialist if the gate is sparking, if the control board shows burned traces or a swollen capacitor, if the operator trips its breaker repeatedly, or if the gate leaf has dropped enough to scrape or bind. A gate leaf that falls is heavy enough to crush whatever is under it, and an operator with a failed safety edge can close on a person, a car, or a child. Don’t disable the safety devices to get the gate working temporarily. Don’t bypass the photo eyes. And don’t keep resetting a breaker that trips, because the breaker is doing its job. Gate Repair Arleta offers free estimates in Arleta, and we’d rather look at a gate before it fails than after. Call (855) 473-3106. We answer 24/7. Fast dispatch from 7am to 7pm, Sunday through Friday.
Frequently Asked Questions
The price of a maintenance visit in Arleta is set per job by the written estimate, and the estimate itself is free. A basic check of limit switches, lubrication, hardware torque, and electrical readings takes less time than a repair call, because nothing is broken yet. Call (855) 473-3106 and we’ll quote the work before anything starts.
Most of the mechanical checks need only a torque wrench, a multimeter, and basic hand tools. What a homeowner should not attempt is opening the high-voltage side of the operator, changing a capacitor, or rewiring the control board. Those jobs carry real electrical risk and are better left to a trained technician.
Rack-and-pinion slide gates should be greased lightly every 2 to 3 months, and chain-drive slide gates every 3 to 4 months. The interval is shorter in Arleta than in a coastal town because the dry valley air and freeway-adjacent dust cake onto the lubricant and turn it abrasive. Wipe before you grease.
A full maintenance visit covers limit switch travel in both directions, control board and photo eye cleaning, drive type inspection, lubrication, hardware torque, battery backup voltage, and a check of every safety device on the gate. The written estimate sets the price before the work starts. Call (855) 473-3106 and we’ll schedule the site visit.
We work across nine major gate brands, including FAAC, BFT, DoorKing, LiftMaster, Mighty Mule, and Elite, covering residential and commercial systems. That range means we diagnose the system you actually have, not the one we prefer to sell. An electric gate repair call starts with the brand and model on your property.
Same-day service is available on gate repair calls in Arleta. We answer 24/7, and a call outside dispatch hours is booked into the next opening, Sunday through Friday, 7am to 7pm. Call (855) 473-3106 and we’ll get you on the schedule.
The Bottom Line
A gate maintenance routine that skips limit switch travel distance is not a maintenance routine; it’s a delay tactic. The checks that matter are measurable: voltage readings on the low-voltage circuits, deflection on the chain, alignment on the photo eyes, torque on the hinge and track bolts, and the amount of grime on the control board. In Arleta, with the dust from the 118 and 405 corridor and the heat of the valley floor, those checks need to happen on a real schedule, not when the gate starts acting up. Log what you find, fix the small things before they become the expensive things, and call a specialist when the problem is electrical, structural, or safety-related. The goal isn’t a gate that works today; it’s a gate that works the same way two seasons from now.
Written by the team at Gate Repair Arleta, serving Arleta since 2018.